Learn how to make tasty catnip tuna treats with our vet-approved recipe.
As devoted cat owners, we want the best for our feline friends, which involves spoiling them from time to time with tasty cat treats.
Sometimes, this could mean buying them their favourite cat treats, or if you’re feeling adventurous, you might try your hand at making your own homemade cat treats for your furry friend. However, sometimes it can be hard to find a recipe that is safe and healthy for your cat. That’s why we‘re here to help with our vet-approved tuna catnip biscuit recipe!
This tasty, whisker-lickin’ good recipe will have your cat purring in no time. It’s ideal for cats that love tuna and go crazy for catnip. What’s more. you’ll be able to bake up this recipe in three easy steps!
One biscuit equals 10% of your cat’s recommended daily calories, so just remember to reduce your cat’s daily food by 10% to ensure that they are not being overfed.
Ingredients
- 145g of tuna chunks in spring water.
- 120g of plain flour.
- One tablespoon of dried catnip.
- One egg.
Step 1: Prepare the ingredients

Begin by gathering all your ingredients and making sure that you have the right portions. Then, mix all of your ingredients into a blender until you have a smooth, thick dough texture. You can whisk by hand, but this will take a lot longer.
Step 2: Prepare the dough
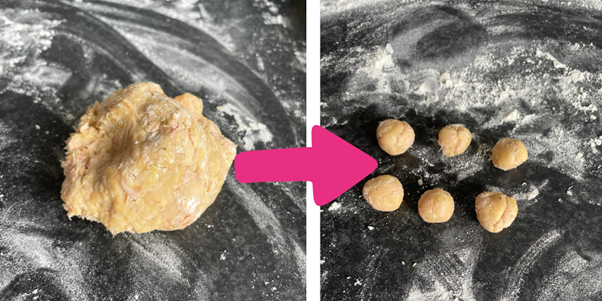
Once you’ve formed a dough, break it into 25 small balls and place them on a baking tray. Make sure that they are a reasonable size for your cat and not too big. We recommend making the biscuits no bigger than 6cm.
Step 3: Cook the biscuits
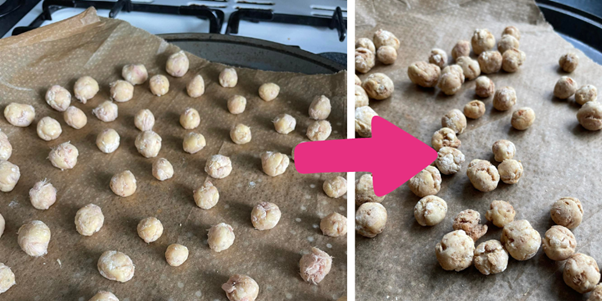
Place your baking tray in the oven at 180°C (for fan ovens) and 200°C (for non-fan ovens). We recommend leaving your biscuits in for about 30 minutes or cooking them until they look crisp.
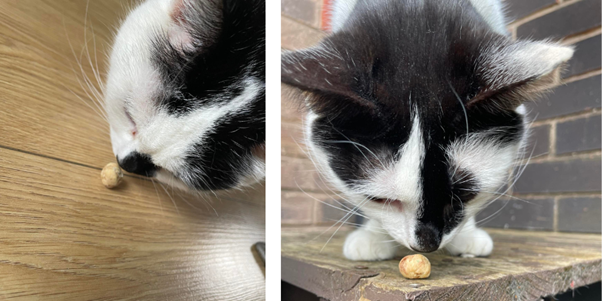
Once they have cooled, you’ll then be able to serve one of these to your cat each day. But make sure that you reduce their daily food intake by 10% to make room for these tasty treats! Just like our salmon biscuit recipe, you can store these in an airtight container for up to three days. If you want them to last longer, put them in the freezer and they can last for up to a month.